
How to Prevent and Remove Stubborn Shower Mould
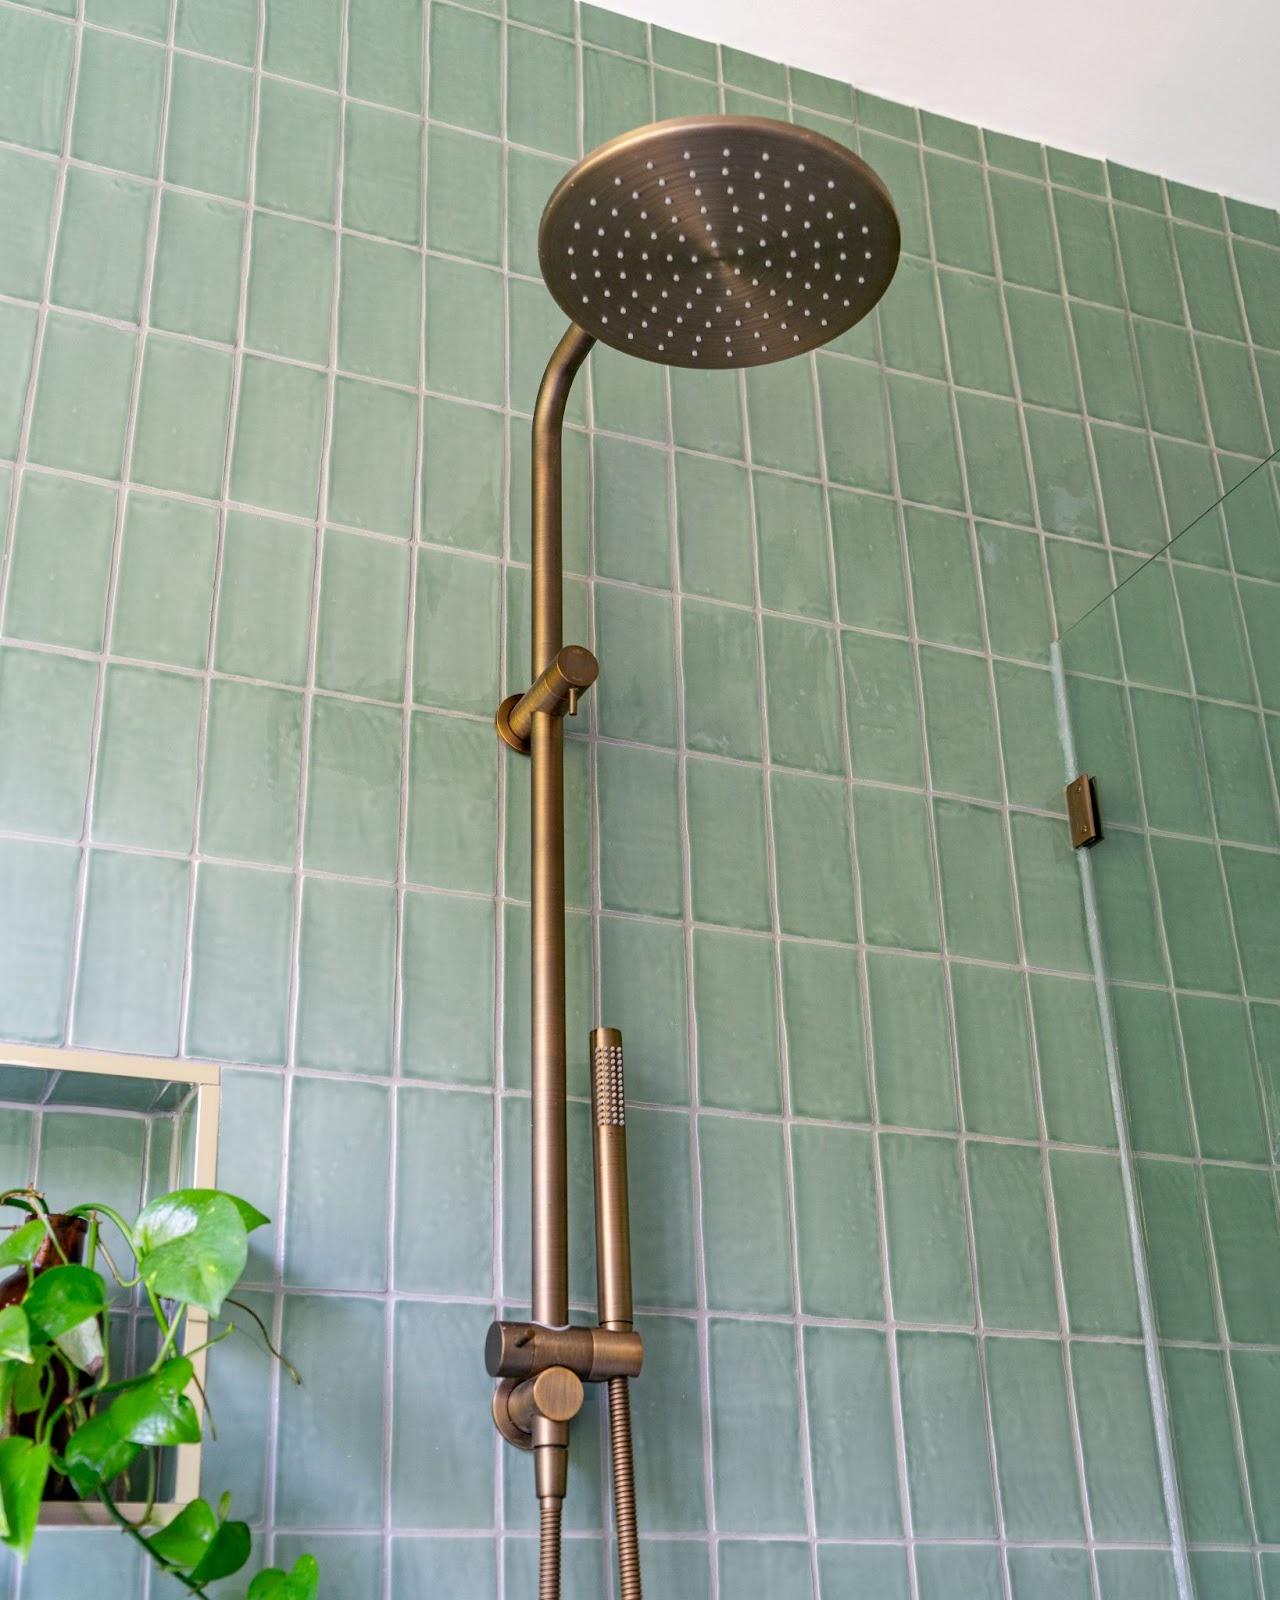
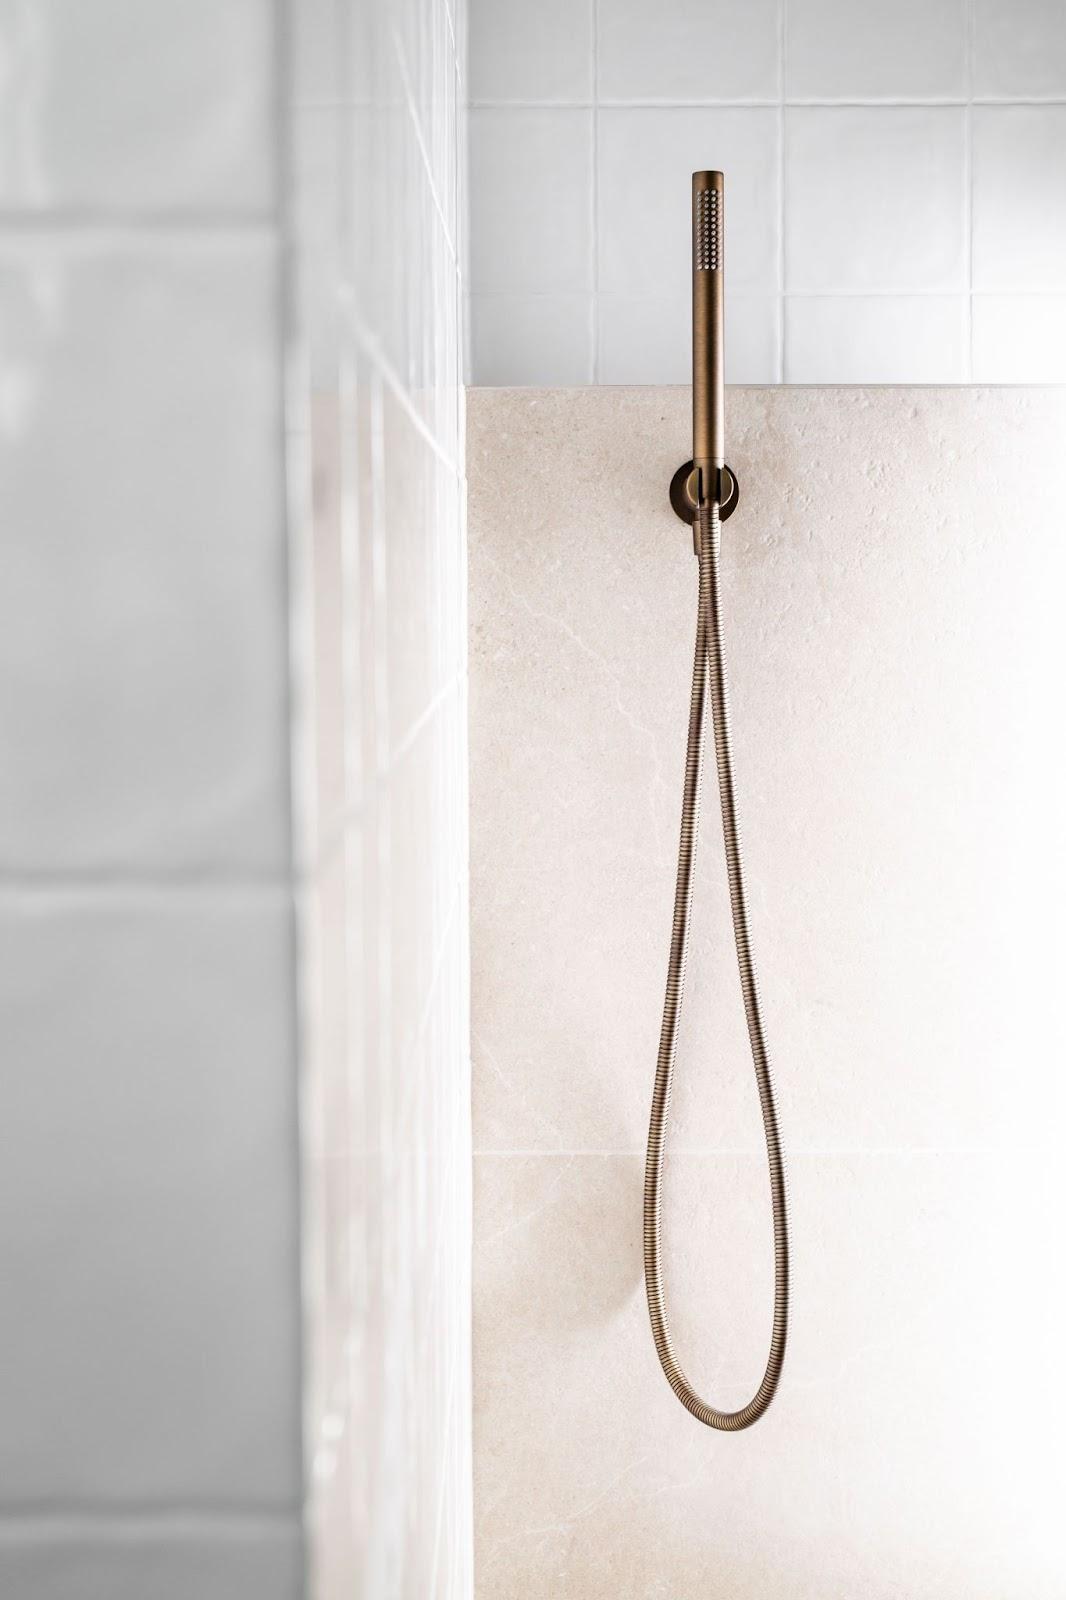
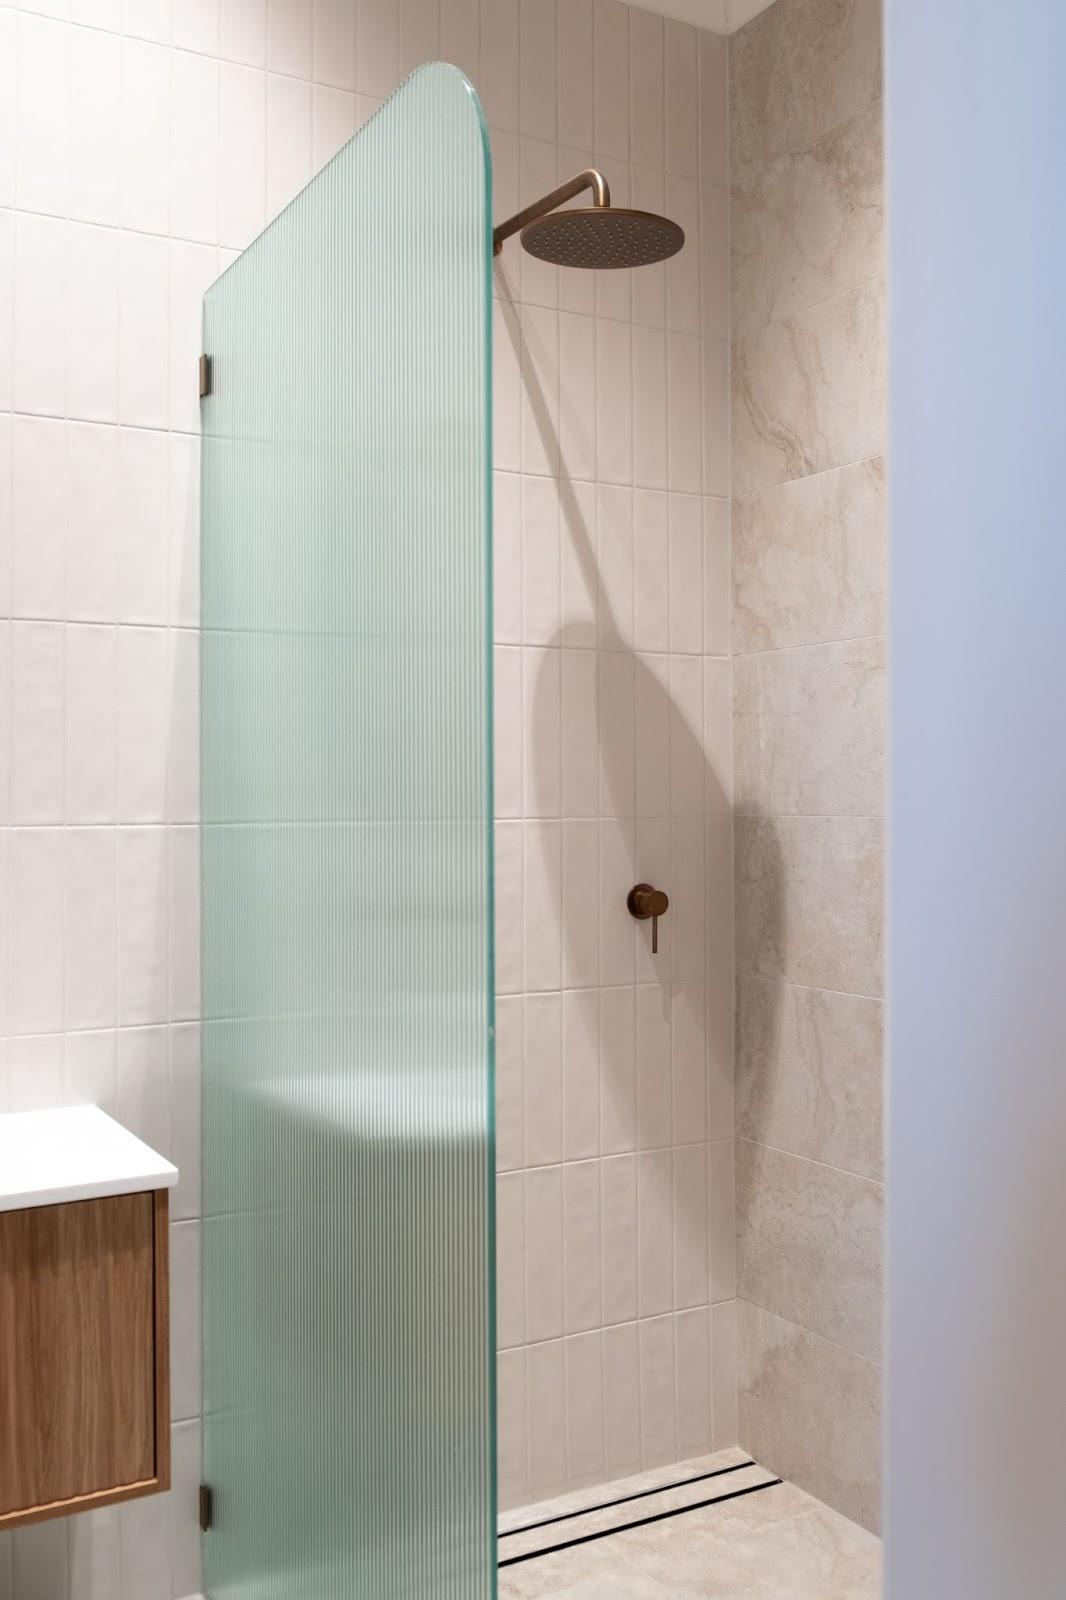
Looking to upgrade your shower for easier cleaning? Browse our hand-held shower heads, combination showers and shower shelves to keep your shower clean and prevent mould from growing.
Nobody wants to spend hours scrubbing, only to have mould reappear a few weeks later. The trick isn’t just knowing how to clean it, it’s knowing how to prevent it from coming back.
Why black mould grows in your shower
Your shower creates the perfect condition for mould. It produces steam that settles on your tiles, grout and fixtures. That moisture clings to natural shower buildup and mould grows and spreads.
The type of mould you see in showers is usually black mould. It looks like dark spots or patches and can spread quickly. The spores travel through the air and can cause health issues like allergies chest infections. That's why it's important to deal with shower mould as soon as you spot it.
How to remove mould from your shower
Before you start cleaning, take some safety precautions. Put on rubber gloves, eye protection and a face mask. Then, open a window and turn on your exhaust fan for ventilation — you don't want to breathe in mould spores.
On top of your self-protection items, you'll need:
- Store-bought mould spray
- Buckets of water or a shower hose
- Microfibre cloths
- A grout brush
If you’re wondering how to remove mould from the shower naturally, you can swap the mould spray for:
- White vinegar (mix nine parts vinegar to one part water)
- Tea tree oil mixed with water
- Baking soda paste
- Hydrogen peroxide
How to remove mould from shower tiles and glass
Cleaning shower tiles and glass is straightforward. The smooth surfaces make it easier to remove mould compared to porous materials like grout. Here's what to do:
- Apply the mould cleaner of your choice to the affected areas.
- Let it sit for 10 minutes to penetrate the mould.
- Wipe with a microfibre cloth, rinsing between sections.
- For stubborn spots, make a paste with baking soda and water and apply to the mould.
- Scrub gently with your cloth — the mild abrasion helps lift the mould.
- Use a hand-held shower head to rinse thoroughly.
How to remove mould from shower grout
Grout is a bigger challenge because it's porous, and mould can really seep in. Many people make the mistake of scrubbing too hard — this damages the grout and actually creates more places for mould to grow.
Old, cracked or crumbling grout needs extra care and aggressive cleaning will only make it worse. Sometimes regrouting is better than trying to save it because damaged grout lets water seep behind your tiles, causing bigger problems.
But, when your grout is in good condition, here’s how to remove mould from it:
- Spray your cleaning solution onto the grout lines.
- Let it soak in for 15-20 minutes.
- Scrub thoroughly with a grout brush or old toothbrush.
- Rinse with clean water using a hand-held showerhead.
- Repeat if needed for stubborn areas.
How to remove mould from bathroom ceiling
Ceiling mould shows up near your shower because hot steam rises and condenses. You'll need a stable step ladder and a different approach to cleaning since working overhead means drips, and you'll need to protect yourself as well as your surfaces.
- Set up your ladder safely away from wet areas. If you can’t use a ladder, use a cloth-covered mop to reach the ceiling instead.
- Protect yourself with long sleeves, gloves, safety goggles and a mask — mould will fall as you clean.
- Cover your floors and any other surface below with old towels or sheets.
- Spray your cleaning solution sparingly to avoid drips or apply it with a sponge.
- Let it soak in for at least 10 minutes.
- Wipe the ceiling with a clean rag.
- Run your exhaust fan or open a window until the ceiling is completely dry.
Best way to remove mould from shower silicone
Silicone seals pose unique challenges because mould grows into the material itself. Once mould takes hold, you might need to replace the silicone entirely. Before that, try this:
- Spray thoroughly with mould cleaner or natural solution.
- Let the solution sit for 20 minutes.
- Scrub gently with a soft brush.
- Rinse and check the results.
If mould sticks around or keeps coming back, it’s probably time to replace the silicone. See our blog on how to silicone your shower for an easy guide.
How to prevent shower mould
Preventing mould takes less effort than removing it. There are some bathroom design and habit-related changes you can make to ensure it doesn’t keep showing up.
Improve ventilation
Good airflow is your first defence against mould. Steam needs somewhere to go, or it’ll settle on your surfaces and feed mould growth. If you have a window, keep it open whenever possible. If you have an exhaust fan, run it during showers and for 30 minutes afterwards.
Don’t forget that fans get clogged with dust over time and stop working as well. Clean them every three to six months by carefully removing the cover (most just pull down on spring clips) and vacuuming the cover and fan. A clean fan works much better at removing steam!
Wipe down surfaces daily
Daily maintenance only takes a few minutes and makes a big difference in preventing mould growth. If mould is a problem in your house, get in the habit of squeegeeing your shower after use and keeping a cloth handy for quick wipe-downs. If you’ve got a leaky shower head or taps, get those fixed ASAP.
Clean your shower weekly
Life gets busy, and sometimes weeks pass between shower cleans. If you’re serious about preventing mould, you’ll need to be stricter about cleaning your shower.
Use a shower cleaning spray to spray and wipe down all surfaces, and take the time to check for early signs of mould.
Set up proper storage
Decluttering and organising your bathroom makes it so there are fewer moisture traps where mould can grow. Install shower shelves with good drainage and store any bottles or soaps there rather than on the ground. This makes cleaning easier and stops water pooling around your products.
Check and maintain seals
Regular shower maintenance means checking and replacing your seals. Every month or so, take a good look at your silicone seals — especially along the shower floor — and treat them if they’re starting to get mouldy. Re-silicone your shower every few years.
When to call a professional
Not all mould problems can be solved with DIY efforts. Some situations call for expert help and professional-grade equipment.
Contact a professional when:
- Mould covers more than one square metre.
- You have ongoing health issues that might relate to mould.
- The mould keeps coming back despite your best efforts.
- There's mould inside walls or under floors.
- You find mould in your ventilation system.
Keep your shower mould-free for good
Preventing mould is easy once you get into the habit of it. Focus on good ventilation and regular maintenance. When you do spot mould, deal with it quickly using the right tools and techniques. Remember that some moisture in bathrooms is normal — it's excessive moisture that causes problems.

Layla Sawyer
Layla is a creative at heart, with an Advanced Diploma in Interior Design and being the Senior Marketing and Ecommerce Coordinator here at Yabby she has a passion for staying up to date with the latest trends within the industry. Known for going down a rabbit hole on Pinterest and being a sucker for a good mood board to kick off any project.